
Connect payments (Stripe)
Online payments are processed by Stripe and go to your club’s own Stripe account, which pays out to your bank. Quord never sees your card details or your members’. Until onboarding is finished, paid bookings and paid memberships cannot be sold online.
Set up Stripe
Section titled “Set up Stripe”-
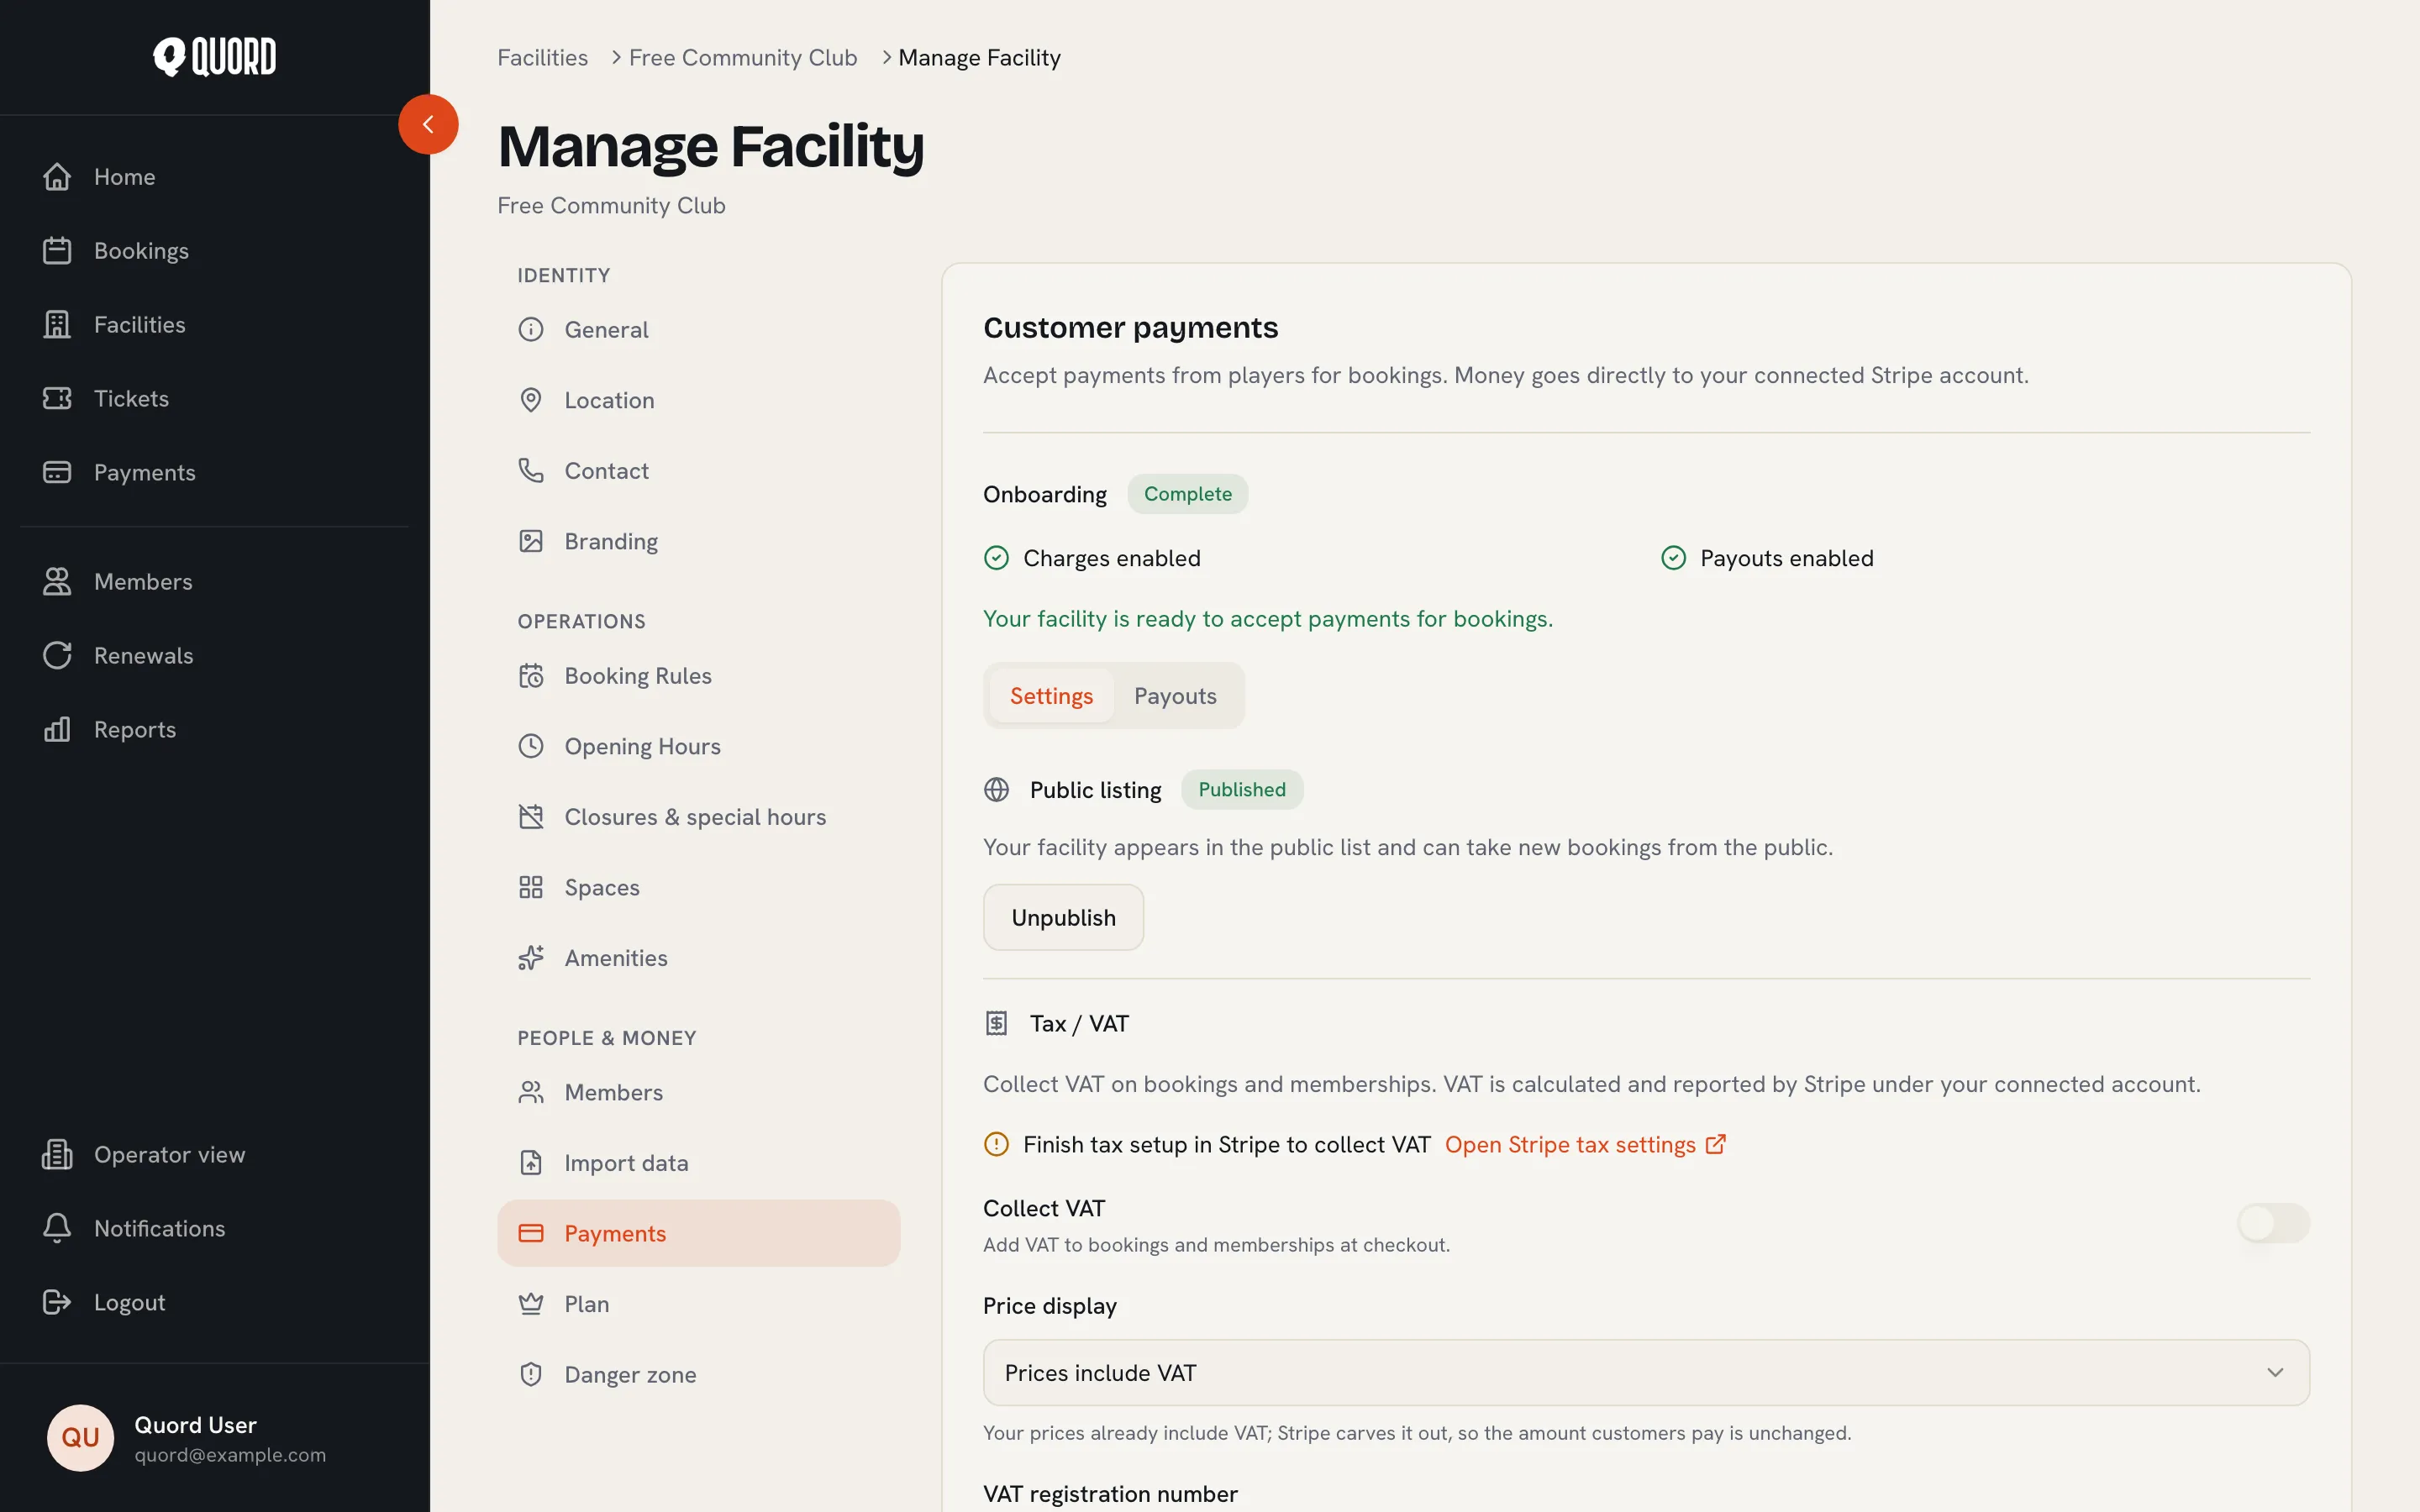
In Manage, open “Payments”. The “Customer payments” section explains where the money goes.
-
Choose “Set up payments”. You are sent to Stripe to enter your business details and bank account.
-
If you leave part-way through, come back and choose “Continue setup” to resume where you stopped.
The section also tells you which currency you will be paid out in. If Stripe does not support your club’s country, payouts cannot be set up there yet.
What the status means
Section titled “What the status means”Once your Stripe account exists, the section shows an “Onboarding” badge (Not started, In progress, Pending, Restricted or Complete) and two indicators:
- “Charges enabled”: Stripe can take payments from players. Until then it reads “Charges not enabled”.
- “Payouts enabled”: Stripe can send money to your bank account. It reads “Payouts pending” while Stripe verifies your details.
When both are on you will see “Your facility is ready to accept payments for bookings.” A Restricted badge means Stripe needs more information from you; use “Continue setup” to provide it. While the account cannot take payments, the club is removed from the public directory automatically (see Set up your club).
Payouts
Section titled “Payouts”Open the “Payouts” tab to see your money in flight: “Available balance”, “Pending balance”, the “Next payout” with its arrival date, and a “Recent payouts” table (Date, Amount, Status, Arrival). Funds are paid out automatically on your Stripe schedule; there is nothing to trigger manually.
If your club charges VAT, use the “Tax / VAT” card on the “Settings” tab. VAT is calculated and reported by Stripe under your connected account, so finish tax setup in Stripe first via the “Open Stripe tax settings” link. Then:
- Turn on “Collect VAT” to add VAT to bookings and memberships at checkout.
- Pick a “Price display”: “Prices include VAT” keeps what customers pay unchanged and carves the VAT out, while “Add VAT on top” adds it at checkout, so customers pay more.
- Enter your “VAT registration number” and choose “Save tax settings”.
Online billing switch
Section titled “Online billing switch”After importing members from another system, the “Online billing switch” card on this page invites them to save a card and renew automatically. How the switch works is covered in Import data.