
Set up your club
Creating a club takes a short wizard, a billing checkout, and a few finishing steps. Everything you enter can be changed later from Manage.
Create your club
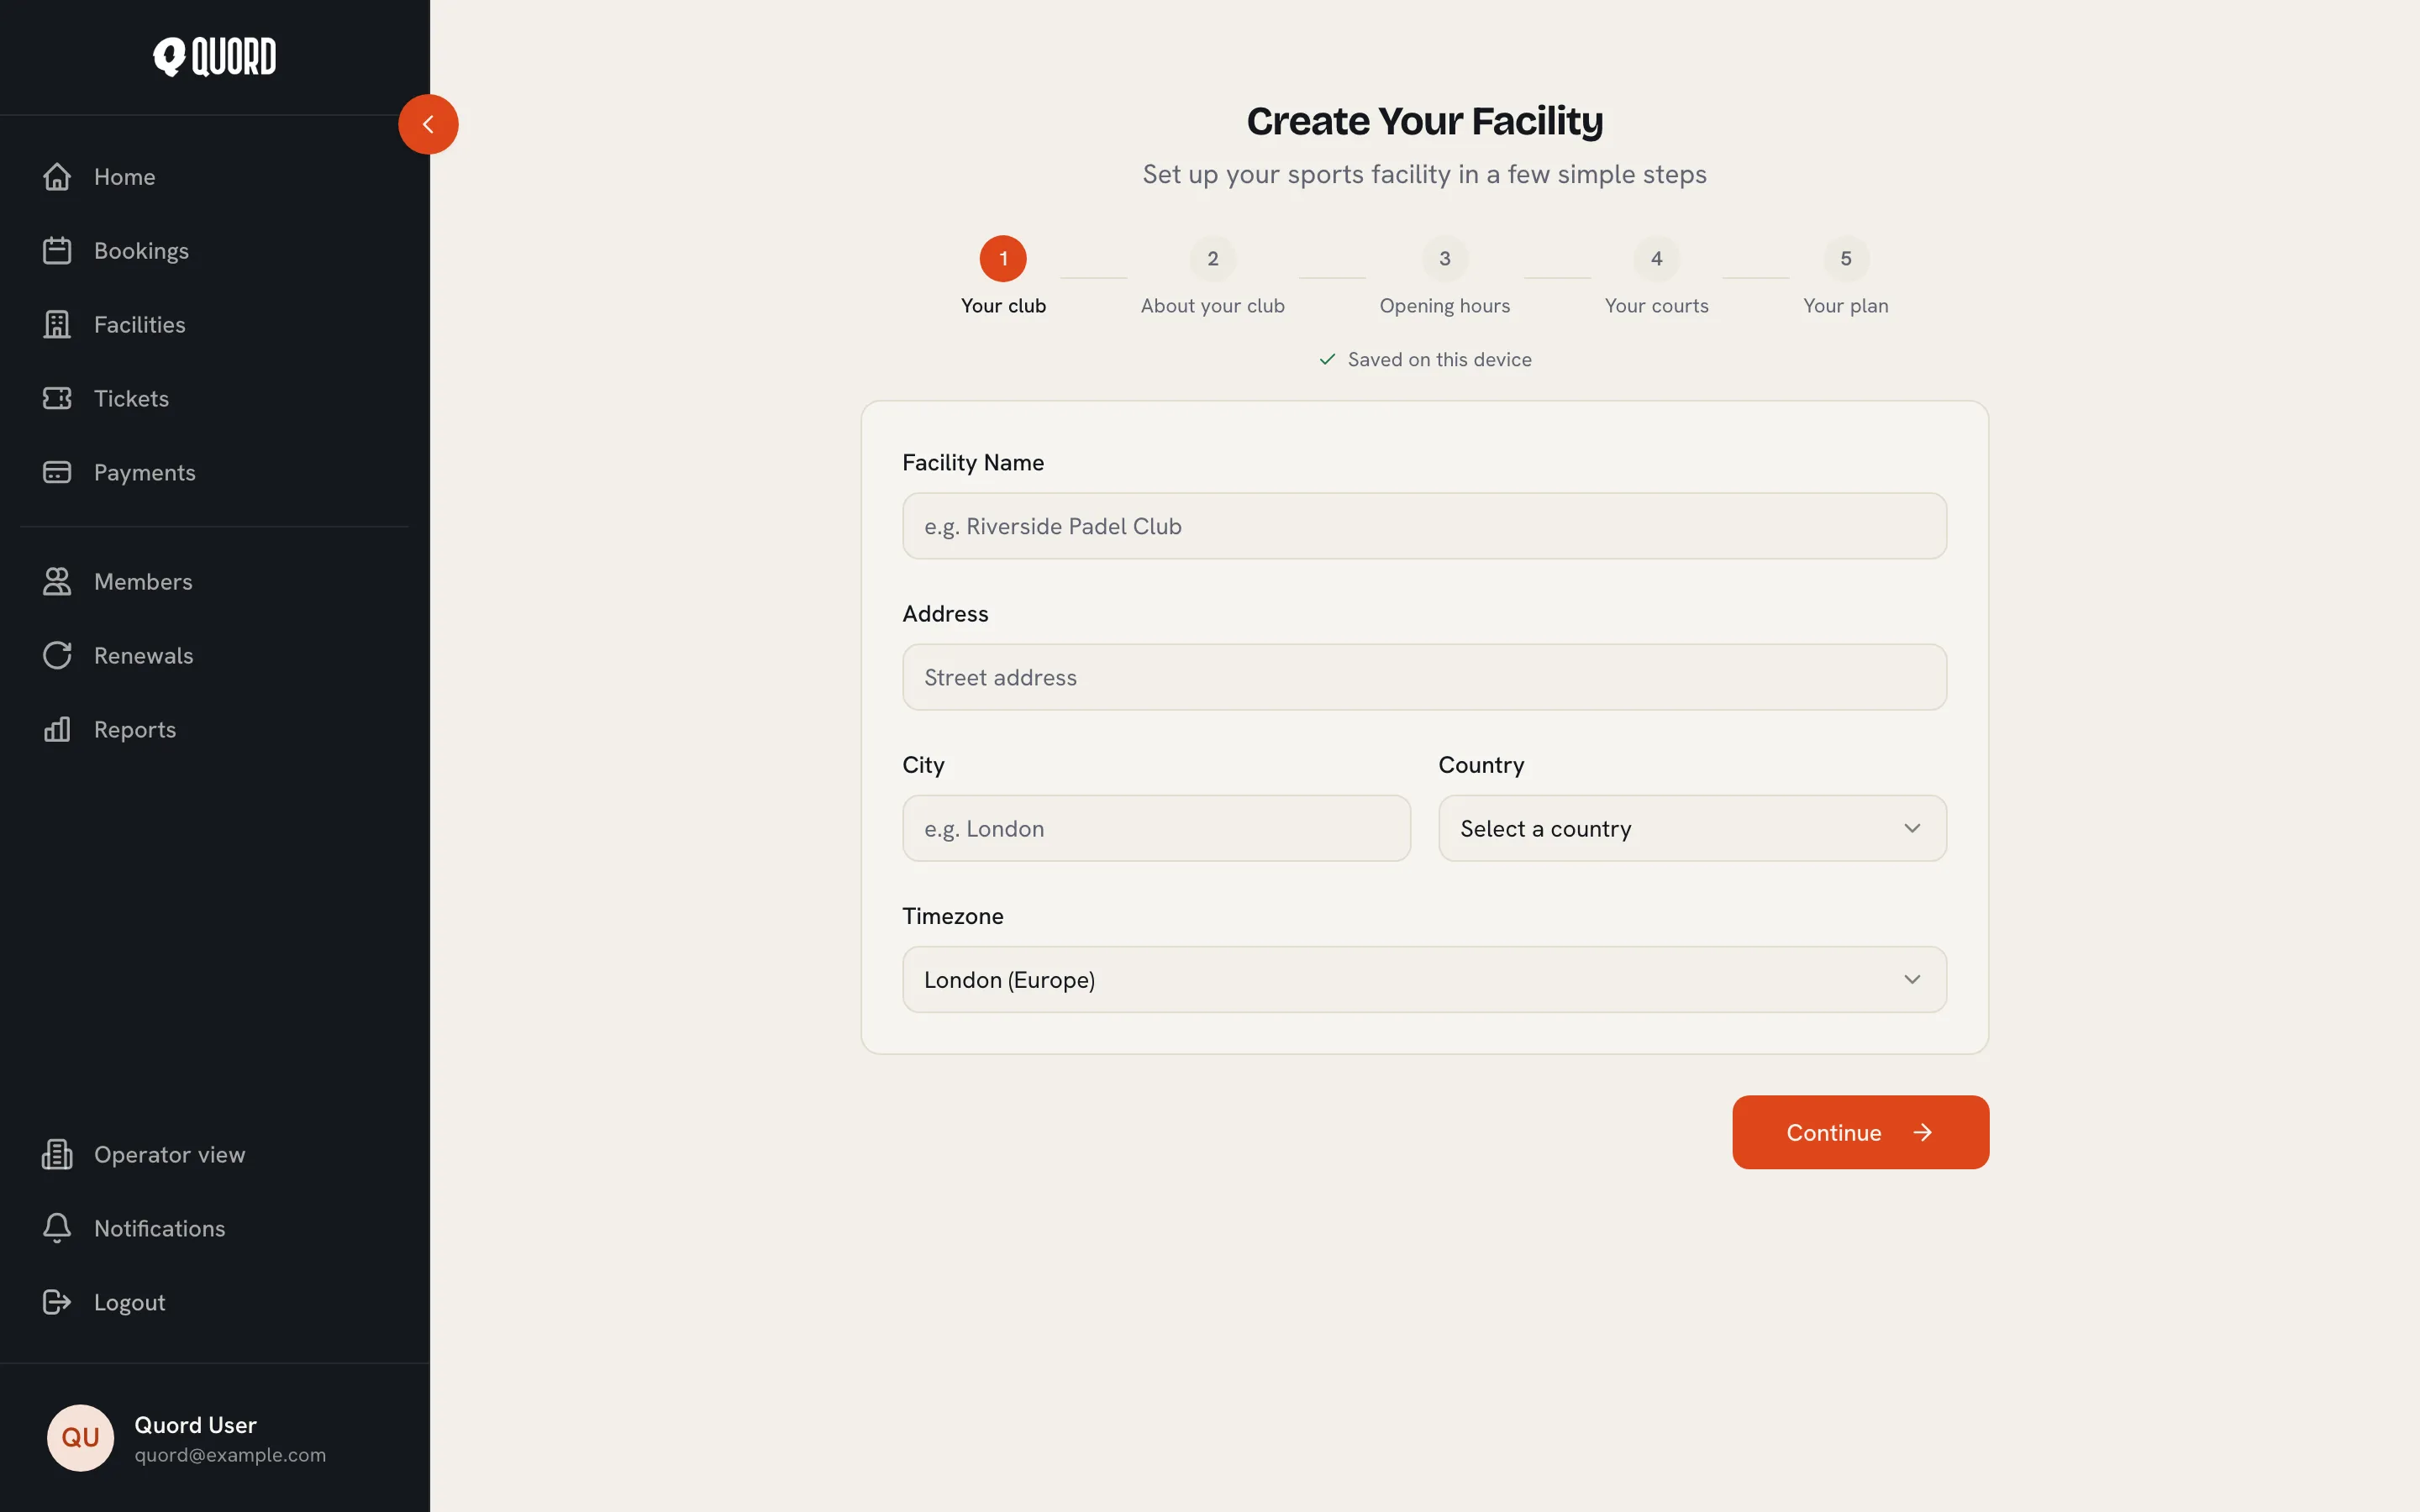
Section titled “Create your club”From the “Facilities” page, choose “Create Facility”. The wizard (“Create Your Facility”) has five steps. Your progress is saved on this device, so you can close the tab and pick up where you left off.
-
Your club. Enter the “Facility Name”, “Address”, “City”, “Country” and “Timezone”. All booking times members see use this timezone.
-
About your club. Optional “Description”, “Website” and “Phone”, plus amenity toggles. This is what players see on your public club page.
-
Opening hours. Set hours for each day and toggle off the days you are closed. You can refine these later, including split periods for breaks.
-
Your courts. Add each court with a “Name”, a sport and a “Surface”. More courts can be added at any time.
-
Your plan. Pick Standard (£29/month or £290/year) or Premium (£89/month or £890/year) and switch between “Monthly” and “Annual” billing. “Create & Continue to Billing” takes you to Stripe checkout.
After payment you land on a confirmation page (“Subscription confirmed”) with a “Go to facility plan” button. See Plan for what each tier includes.
The setup checklist
Section titled “The setup checklist”Until setup is complete, a “Finish setting up your facility” card appears on your club page and on Home. It tracks five steps: “Add your courts”, “Connect payments”, “Set opening hours”, “Add logo & cover photo” and “Publish your facility”. Each unfinished step is a button that jumps to the right section of Manage. The card disappears once everything is done.
Edit club details
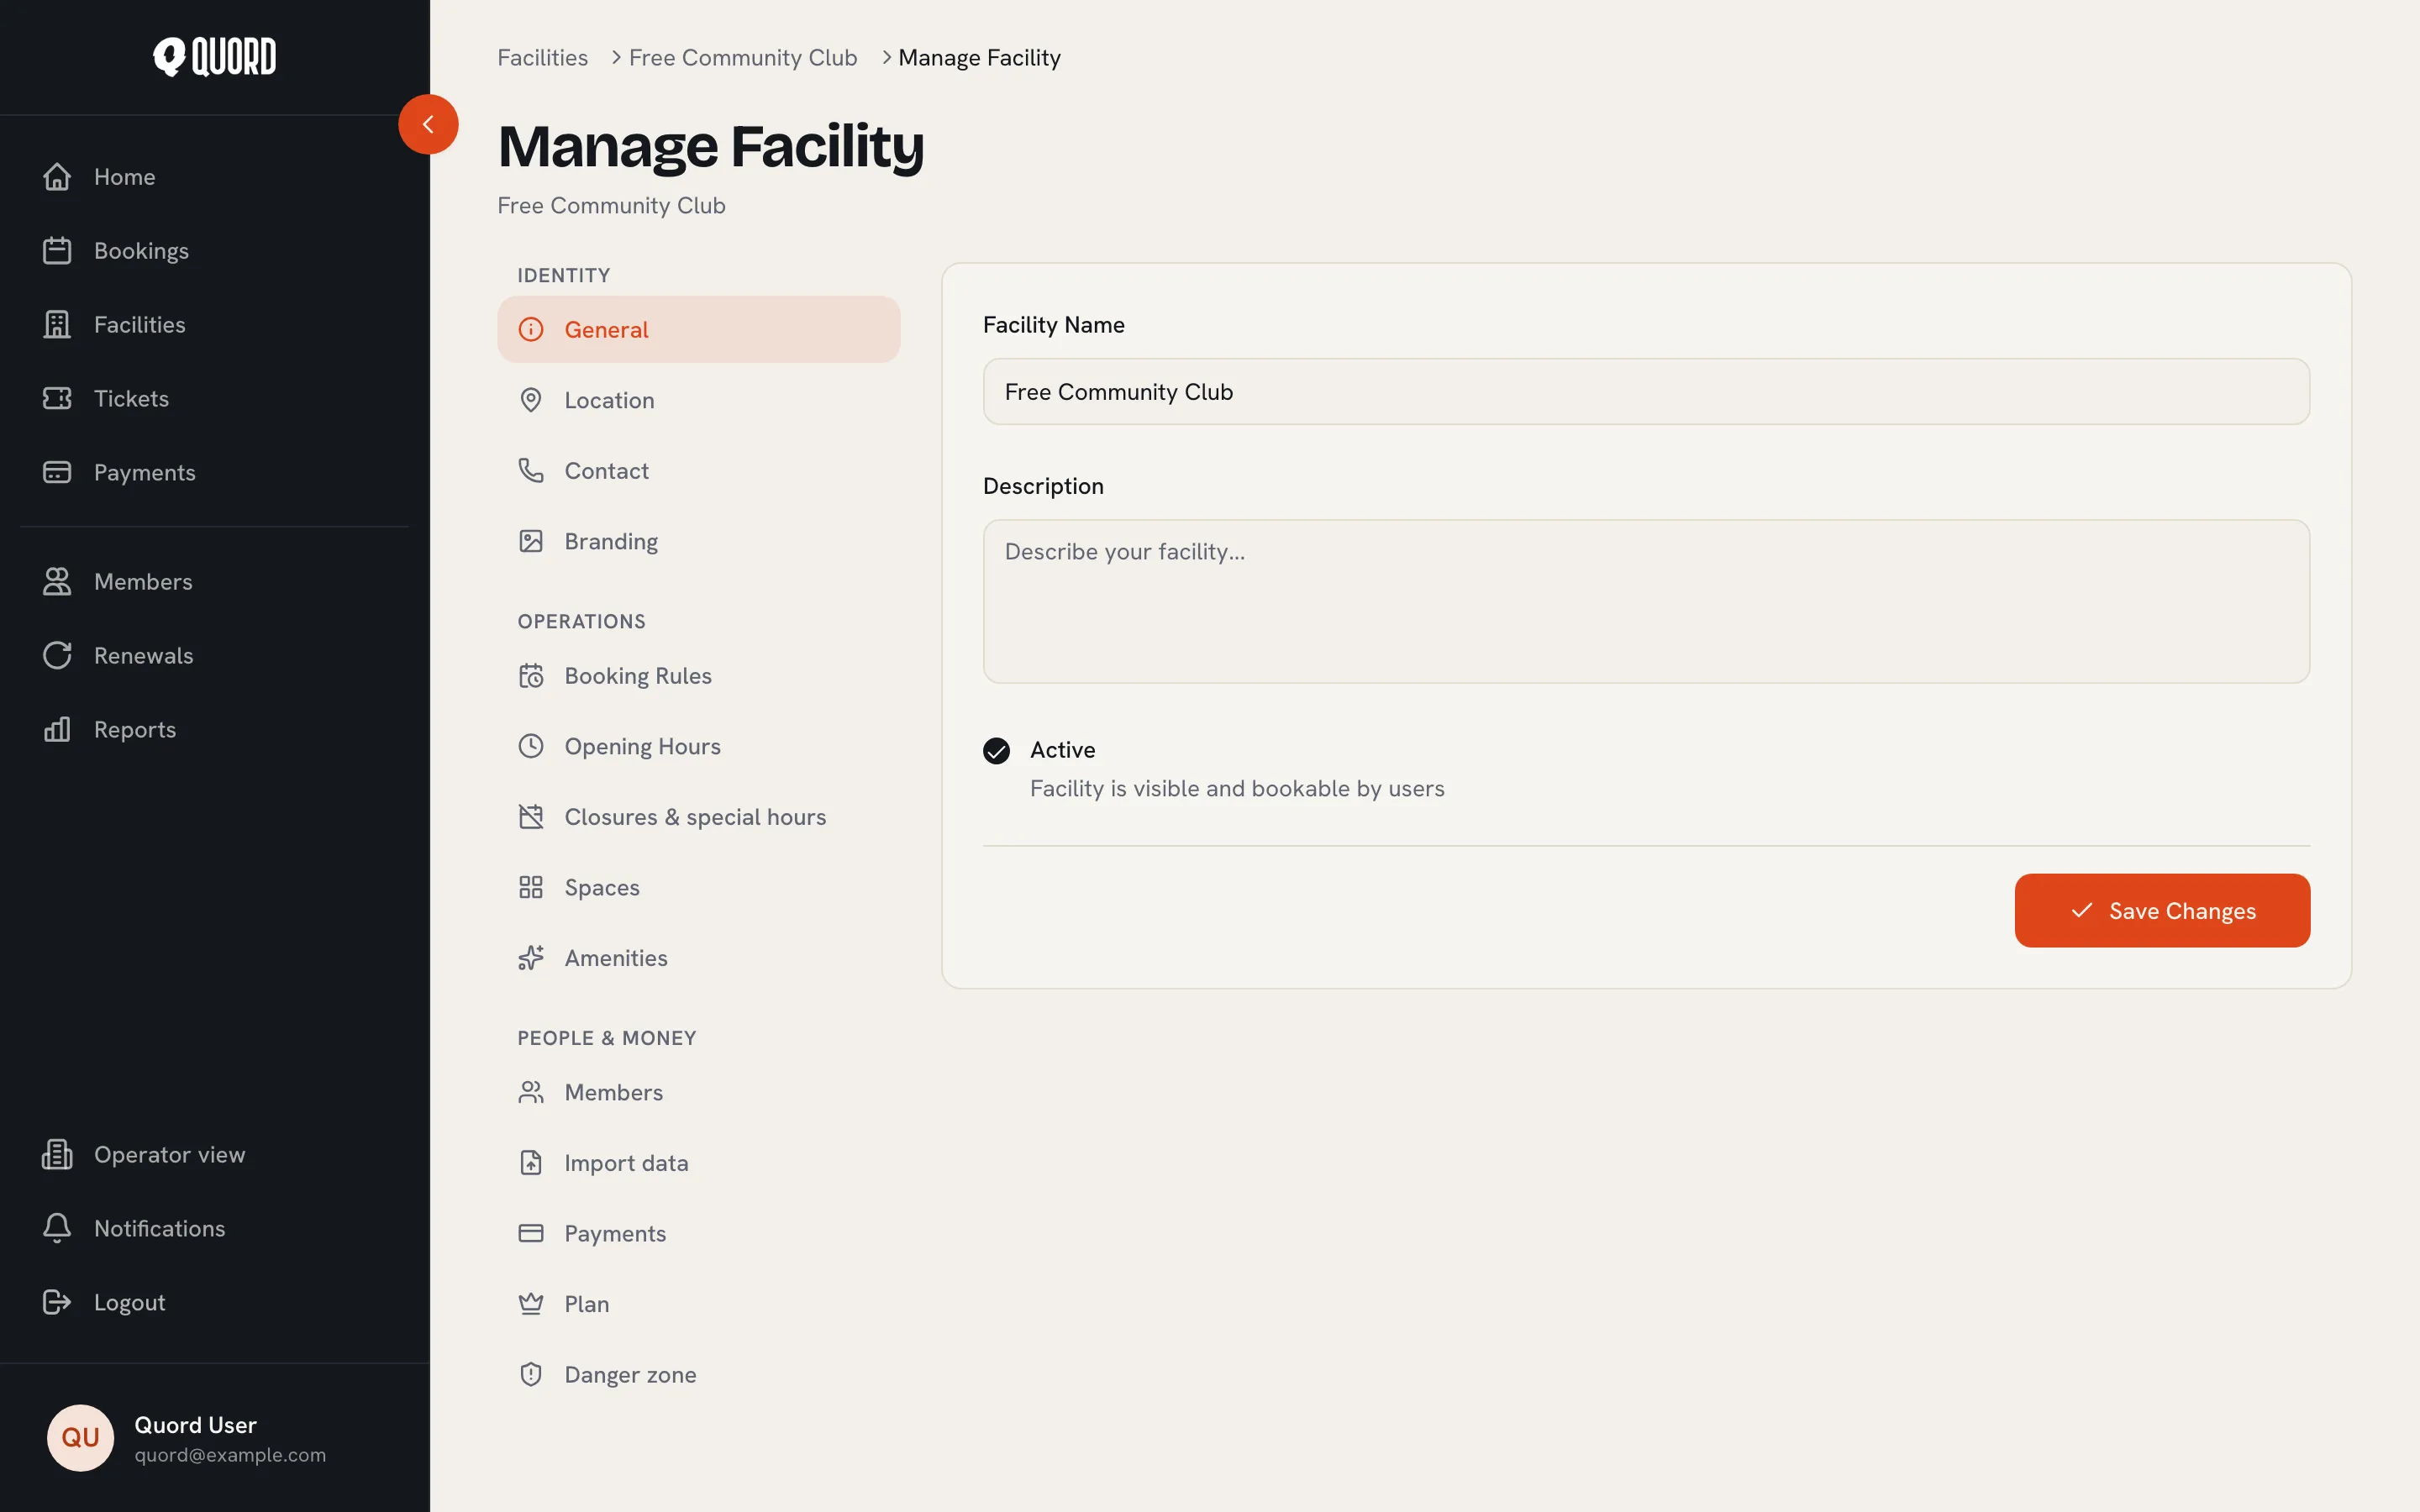
Section titled “Edit club details”Open your club and choose “Manage”. The Identity group in the sidebar covers the basics:
- “General”: “Facility Name”, “Description” and the “Active” checkbox (“Facility is visible and bookable by users”). Untick it to hide the club and pause bookings without deleting anything.
- “Location”: “Street address”, “City”, “Country” and “Timezone”.
- “Contact”: “Website” and “Phone Number”.
- “Branding”: upload a “Logo” and a “Cover Photo” for your public page.
Each section has its own “Save Changes” button.
Publish your club
Section titled “Publish your club”Publishing puts your club in the public directory so anyone can find it and, if you allow it, book. The “Public listing” control sits in Manage under “Payments”, on the “Settings” tab, and appears once Stripe payments are set up. Publishing needs a Stripe account that can take payments: Quord refuses to publish until Stripe setup is complete and the account is in good standing. Use “Publish facility” to go live and “Unpublish” to hide the club again.
Unpublishing only removes the club from the public directory. Existing members keep booking, direct links to the club page still work, and calendar bookings are unaffected.
Delete your club
Section titled “Delete your club”Only the club owner sees the “Danger zone” section at the bottom of the Manage sidebar. Deleting a club cancels every member’s subscription, cancels all upcoming bookings and removes the club from listings. Your payment and booking history is kept for your records. To confirm, type the club name exactly, then choose “Delete club”. You can re-open the club later by subscribing again.